Tag Archives: Gardening

Tomato Power

Tomato Plants


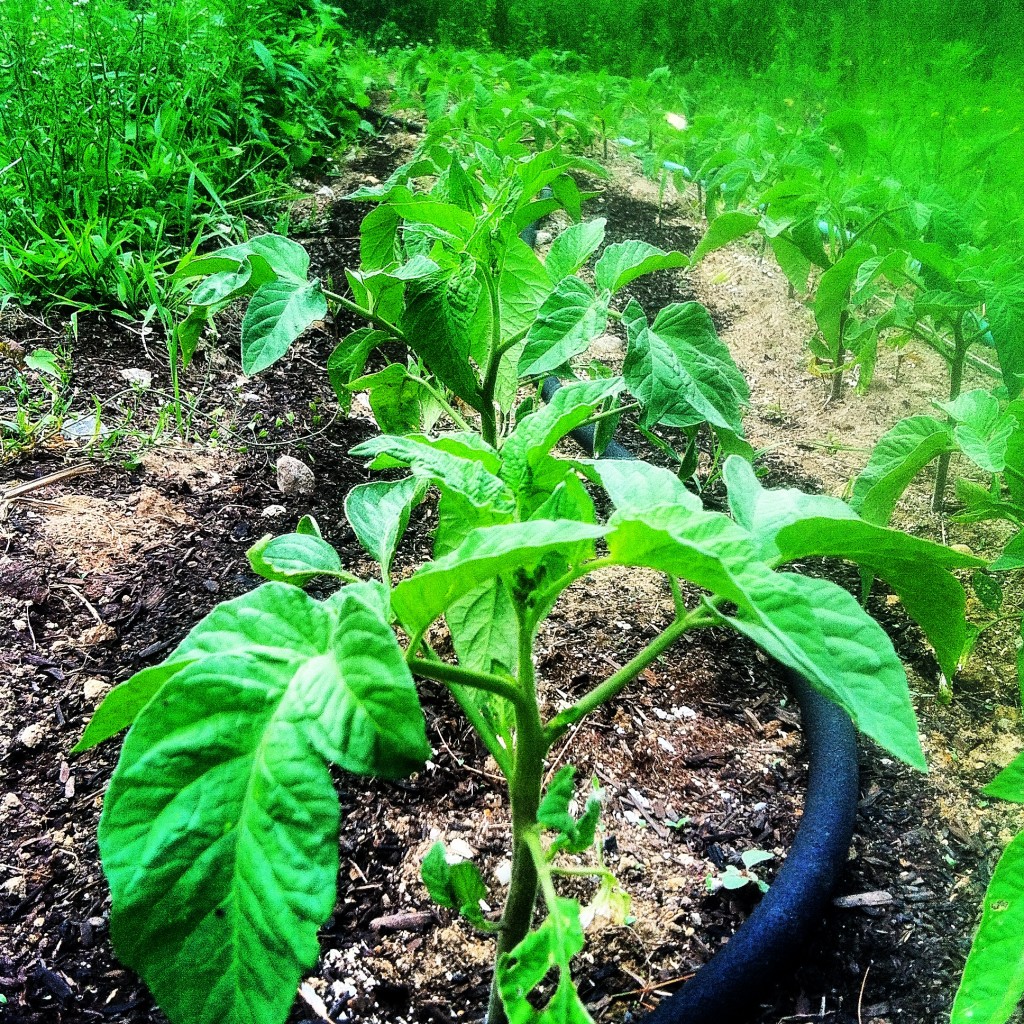
06/27/14 – These beauties are Brandywine heirloom variety plants, about 8 weeks old and loving these warm nights we’ve been having lately. The distinctive leaves are a lot like a potato plant. Brandywines are a large tomato, some as large a 1 1/2 lbs each. Great slicing tomato for sandwiches, or if you need an organic doorstop.

Give them another 5 or 6 weeks and we should have some on the farm table for sale. Go tomato power!

How To Grow Great Garlic Plants

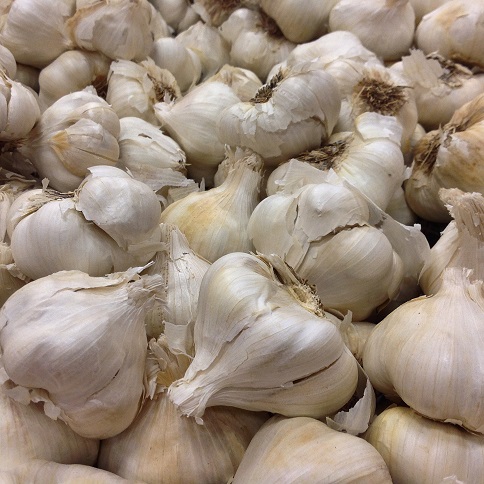
bulb garlic

by Mercy Hill Farm

Garlic is very easy to grow and stores well most of the year. It also provides a heavenly scent that actually deters many pests from being interested in your garden. Garlic is a biennial, meaning that it’s growth from planting to harvest spans two calendar years. Most of the work raising garlic is in the fall. Yield is high on garlic: one bulb gets split into cloves and each clove becomes a whole other bulb!


Schedule for Growing Garlic in New England:

Summer – Time to Get Things Ready

1. We recommend chosing a variety of garlic that suits your taste and lifestyle. We like German stiff-neck garlic because it has medium cloves,  stores very well and has a strong taste.


2. Order seed garlic mid-summer in order to plant that fall. (It’s expensive to start, but you won’t need to buy it ever again.)


3. Chose a growing spot that has full sun for at least 8 hours a day. Garlic likes well drained soil with a PH of about 6.5.


4. We plant in 30″ wide rows, a foot in length for every eight plants. (details on planting pattern later)


5. Work a few inches of well rotted manure or compost into the soil a month to a few weeks prior to planting.
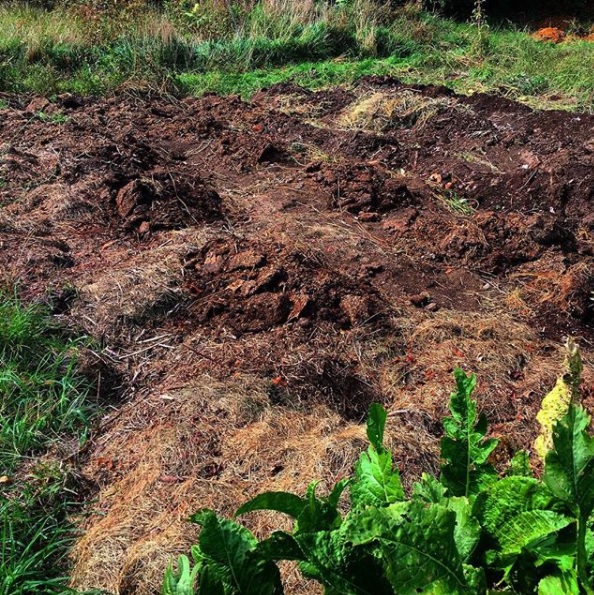
compost the bed


6. Prepare some wooden posts 1’x2″ or so and 20″ long to drive into the four corners of each row. Get a roll of 12″ shrink wrap or kitchen cellophane, enough to circle all the rows 3 times. Also get enough straw or mulch hay to cover the rows. Plan on a bale for every 40 feet of row.

Fall – Time to Plant

1. Garlic should go in the ground about a month to two months prior to the first frost date in fall. Here in central NH, we plant at the end of October and that’s worked well in hardiness zone 4/5. Garlic will lay dormant most of winter, but doing it this way allows the plant to put down a good root system during the fall and spring months.
garlic planting pattern

2. Start at one end of the row, measure in 6 inches from the edge and use a dibble or stick to poke holes 2″ deep using the pattern above. This allows 6 inches between plants, and maximizes the planting row space.

3. Break apart bulbs into cloves, placing one clove per hole, root side down. Don’t cover the cloves with soil until later.

4. Stop short six inches from the end of the row. Once you can see that your row is full, cover lightly with soil. Keeping six inches of composted row around every side will allow each plant to have sufficient nutrients and room for roots to spread.
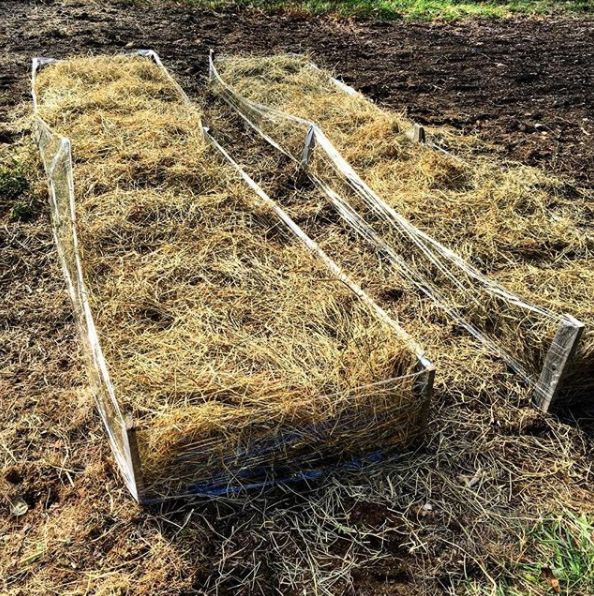
mulched garlic rows


5. Drive posts at the corners of each row leaving 10-12″ above ground and 8″ from the planted cloves. This will allow the mulch to properly cover all the cloves.

6. Wrap the cellophane around the posts (If your rows are longer than 15 feet, you may need to add additional posts in the middle.)

7. Fluff the straw, spreading it evenly and gently over the rows, keeping it inside the cellophane, which will help maintain the soil temperature better and keep it from being disturbed by wind.

8. Start planning where you will cure your garlic next year.

Winter – Time to Kill

  1. Dream of garlic
  2. Gather garlic recipes
  3. Complain about store-bought garlic.
  4. Write Haiku about garlic.

Spring – Time to Uncover

1. When other bulb plants like daffodils and crocuses start poking out of the ground, so will the garlic. Remove the straw and plastic.
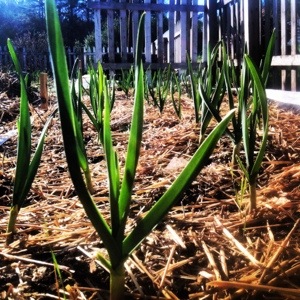
garlic plants

2. Keep garlic weed free with shallow cultivation. Wide rows make weeding very easy as the soil not compacted and lets go of weeds easily.


3. Do not water garlic unless you go weeks without rain. It needs very little water.
Summer – Time to Harvest

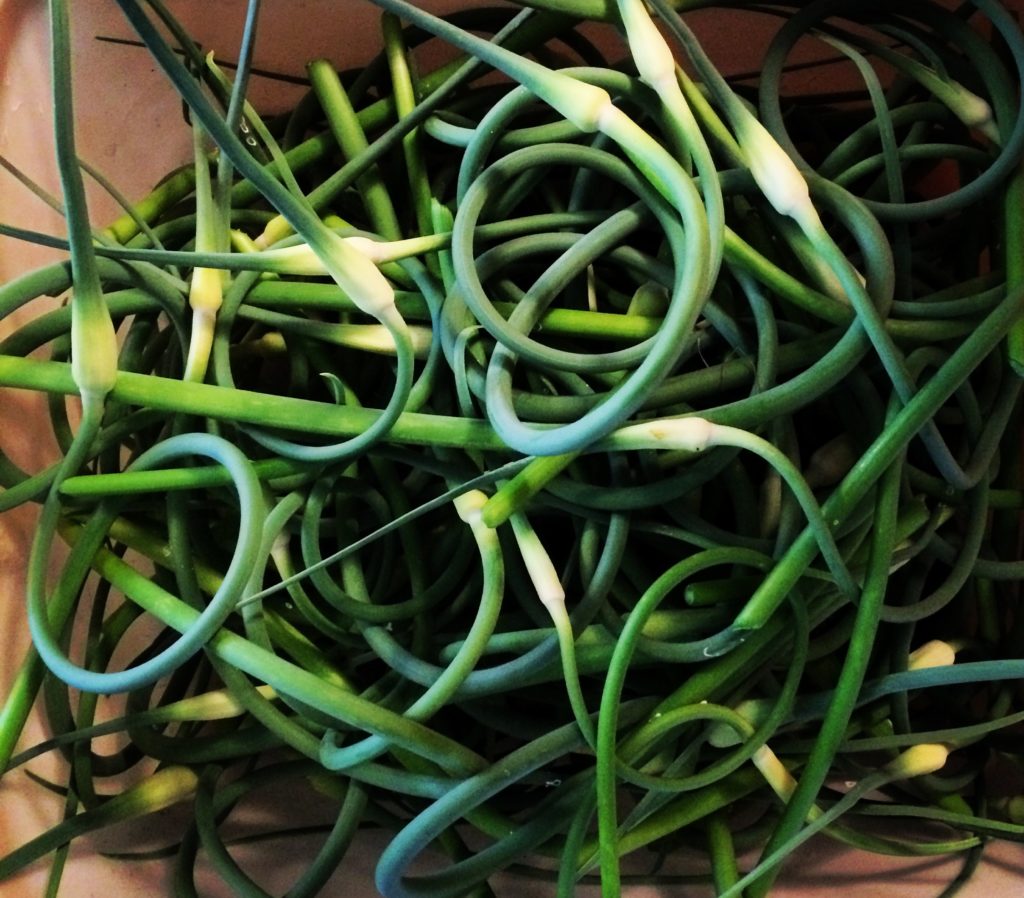
1. Along in June or July the garlic will put of shoots (scapes) that curl over and look like they are going to flower. Cutting the scapes off allows the plant to put more energy into larger bulbs. Cut the scape with tullens or snips right above the top leaves. Scapes are great for sautee or pesto. Not much good raw.
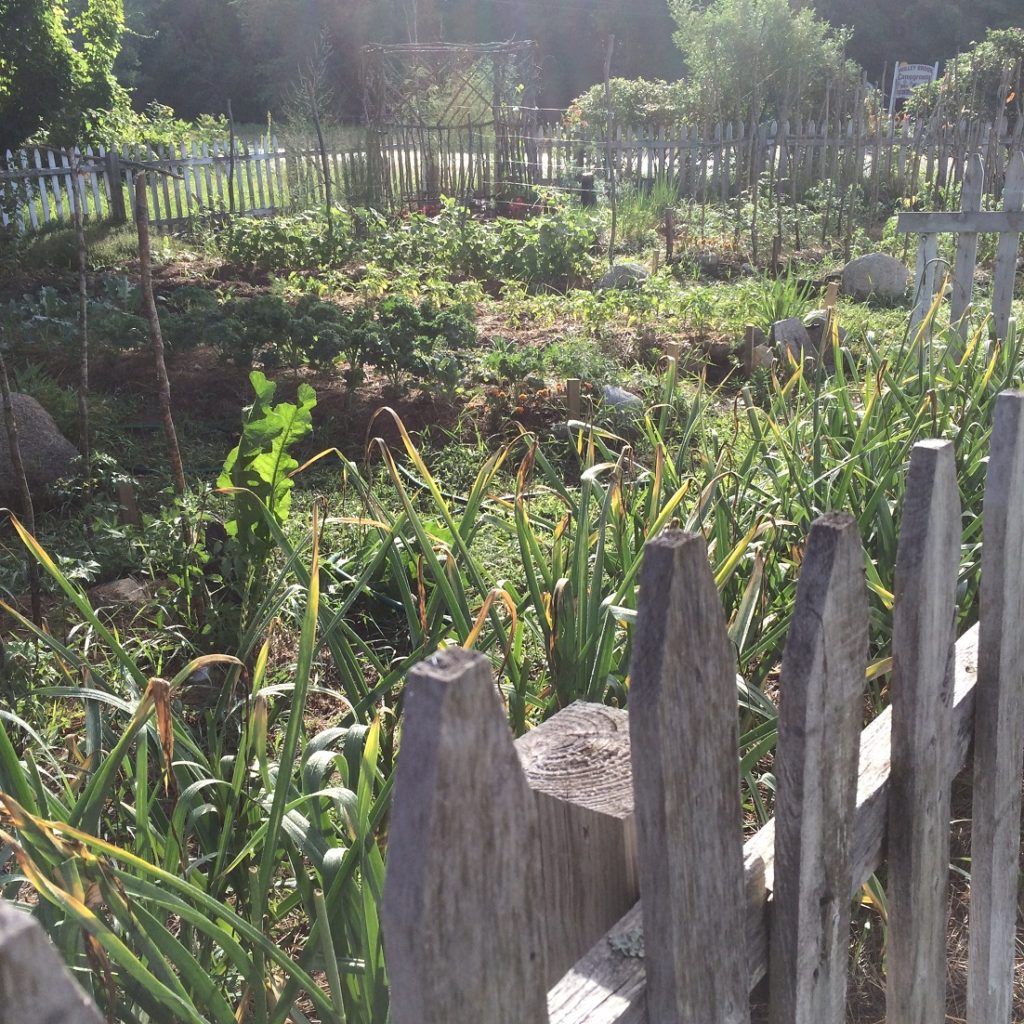
growing garlic


2. Monitor garlic plants closely. When three or so leaves begin to turn yellow on all the plants (usually around end of August here,) it’s time to harvest. Carefully lift the soil from 6 inches away from the plant with a pitchfork and shake the bulbs free, stalk and all. Gently brush excess dirt from the bulbs.

Summer – Time to Cure Garlic
garlic drying


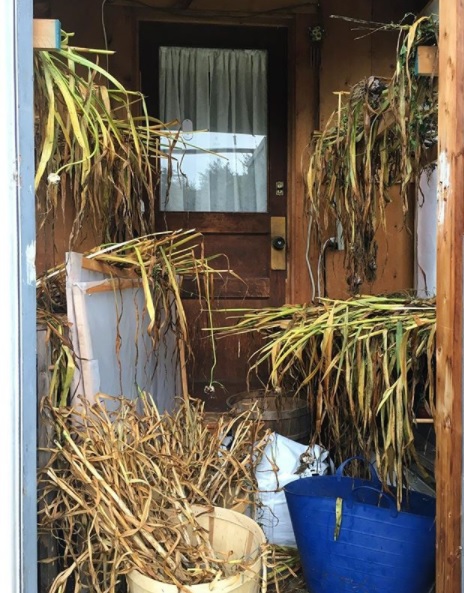
Garlic must be cured in order to store well. Place the plants in a dry sunny area for (about 2 weeks). If it rains, move the plants to a covered area. Inspect the bulbs carefully every few days because too much sun can scald the bulbs. When the skins are dry and the necks are tight the garlic is properly cured and it’s time to store it in a cool, dry place out of the sun.
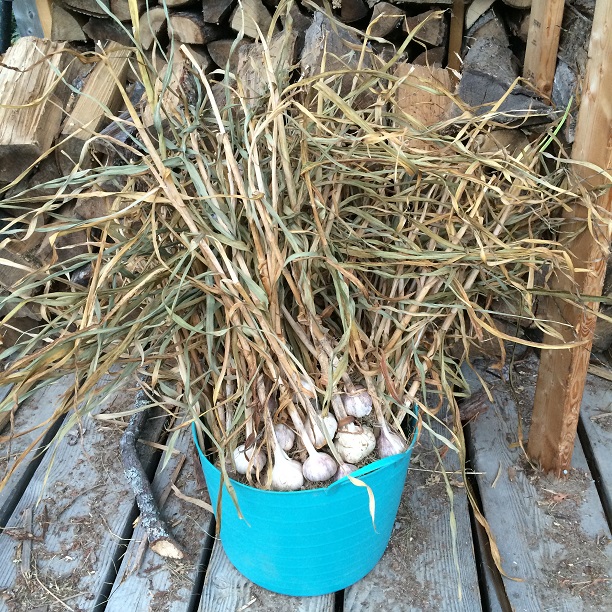
harvesting garlic

If you have room, you can let the stalks remain, but we usually cut the stalk, trim the roots and lightly brush more of the dirt free. Then the bulbs go in our pantry in an open basket. Beware putting garlic in a sealed container. It does better if it can breath. Garlic cured well keeps for 5 months or more before sprouting. You can still eat sprouted garlic, but it’s generally not as good.

Late Summer – Time to Plan for Next Year

This sounds strange at first, but we set aside about 25-33% of the largest clove bulbs and eat mostly the smaller ones. These larger cloves will be your seed garlic for next fall. The reason is that grown year after year, garlic will adapt to your region and soil. If you eat the little ones and replant the big ones, you will have more fine, large cloves next time!


Mini Greenhouse Is Providing Big Benefits

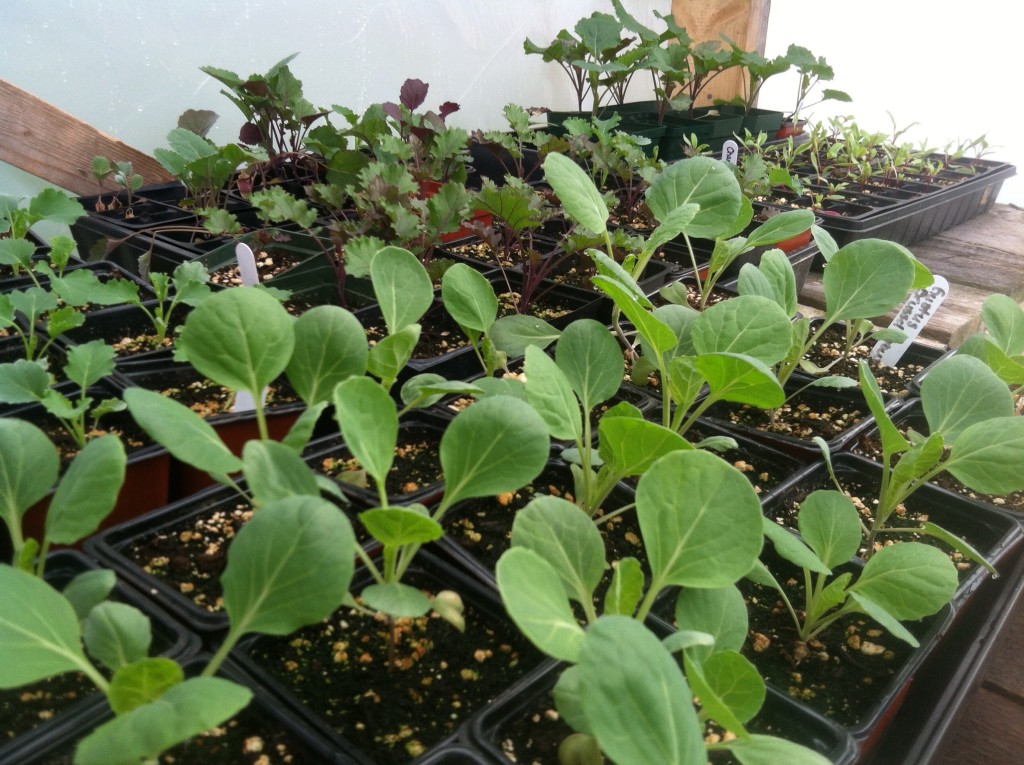
Broccoli PlantsWell Worth The Effort

For years we have started our seedlings on the porch, with relative success. It provides the plants with adequate protection from frost until we can put those tender seedlings into warm and cozy garden beds come the end of May. Of course, we’d love to have a big old hoop house like the pros use, but it’s hard to justify the high cost to get one started and keep it running unless you make your living that way. We’re not there yet. This is still mostly a wonderful hobby of ours.

This year though, we built a mini greenhouse for the seedlings to live in and what a difference! We still sprout them on the porch, on heat mats, but then they went in the greenhouse. The plants get a lot more direct sunlight throughout the day, resulting in the rich green color and sturdy, stalky plants pictured above.
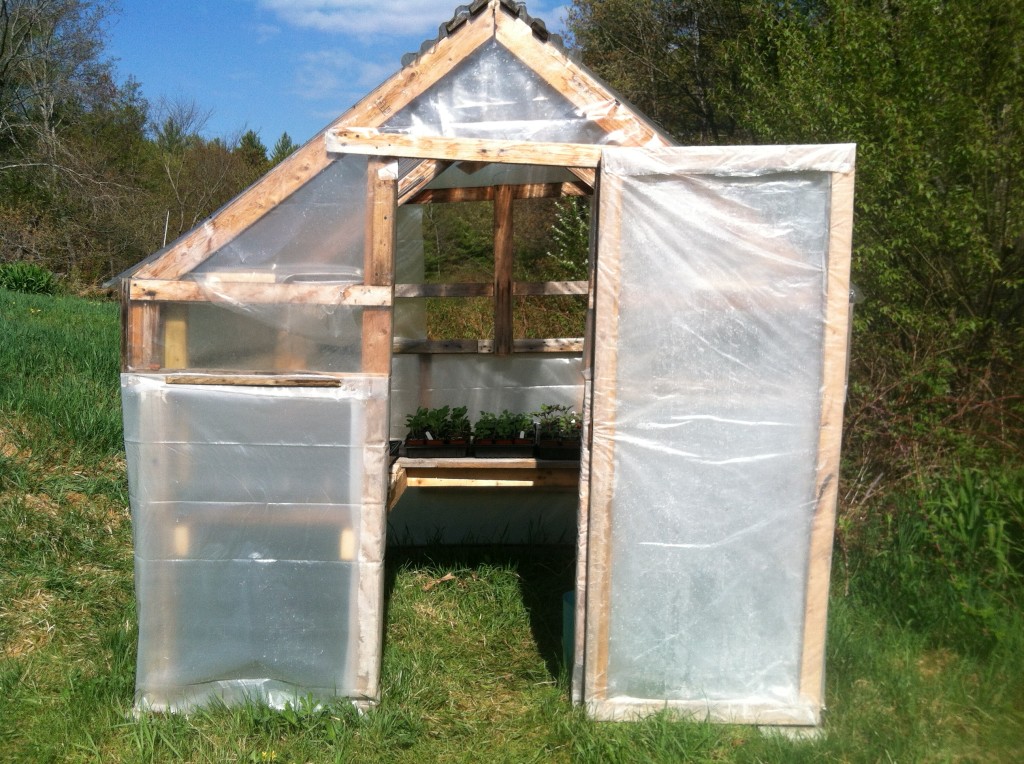
This little structure was very inexpensive to build. Yeah, It’s ugly, but it’s cheap and it gets the job done.

Miniature GreenhouseI didn’t save receipts, but I’d estimate we didn’t spend 100 dollars to build this. There’s no artificial heat source and no lights. So far, there’s been no need to heat it. All of the lumber came from scrap materials left over from other farm projects, which you could probably get from your local landfill’s demolition dumpster. It’s 10′ wide x 5′ deep x 7′ tall and covered with 6 mill plastic. The roof is made of transparent corrugated plastic paneling from the building center, probably the most expensive component, but important to help it last through many years of harsh New Hampshire winters. We put about 12 hours of work into it over a weekend.

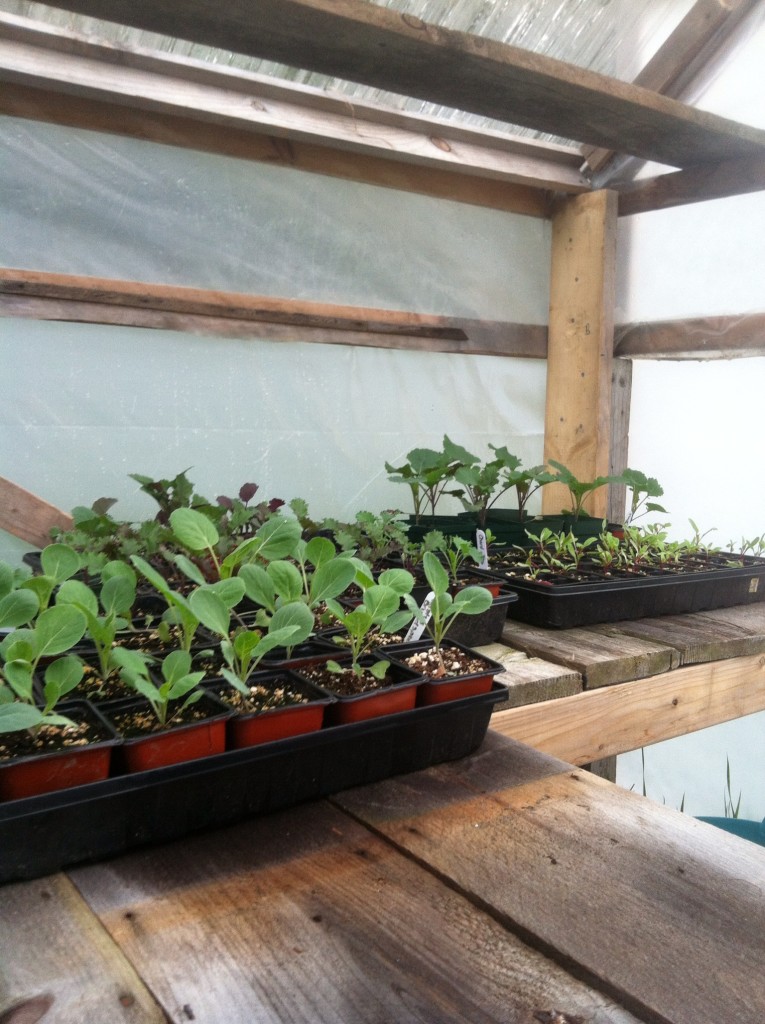
The real benefits are that we can keep our plants in one place and they get a lot more direct sun. We don’t have to move them outside during the day to harden them off (get them used to sunlight and wind) and then in at night to protect from them from frost. The greenhouse warms up within minutes when the sun hits it in the morning, so the plants begin their growing day sooner. At night, we’ve had temps down below freezing, and it’s gotten down to 32F inside, but because the plants don’t experience the dew and the wind with the greenhouse closed up, the plants are not subject to frost, even at freezing temps.

We’re no using it for our heat loving plants – for peppers and tomatoes we would have to heat it at night. Given the size of the greenhouse, we could probably achieve temps of 80F easily with a single infrared heat lamp. I might just build a second one with double wall plastic to help insulate it, for use with heat-loving plants, but for now, this is working great for our brassicas, our flowers, our alliums, leafy greens, etc.

Seedlings in Greenhouse


Crops are Loving the Warm Nights and Warmer Days of Summer

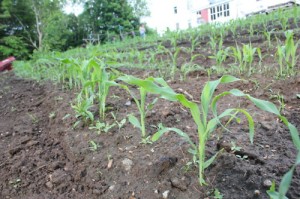
cornstalks

It’s funny, we talk to people who drive by all the time and they say: “wow, I didn’t know you grew so much there.” There’s a lot going on out back that can’t be seen tooling by at 6o MPH…

ant on peonie flower

When you slow down and look, there’s an amazing menagerie of life happening all around us.

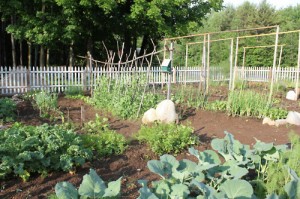
wide row raised bed gardening

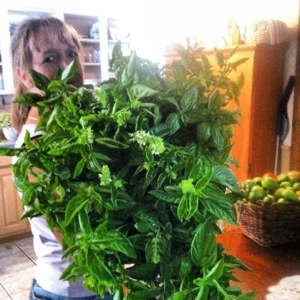
Our daughter Christie took these amazing pictures on her last visit to the farm and we sent her home with a mess of Kale, herbs and such.

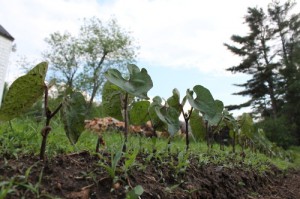
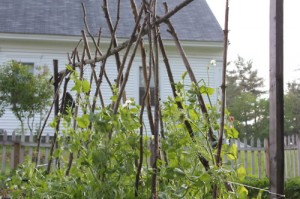
bean stalks

She’s got a unique perspective and helps us appreciate even more the bounty that comes from the earth each summer.

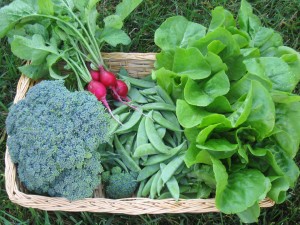
Which reminds me.. I better go pick snap peas before they get past me again!
Piper says “Woof!” (translation: “pat me please?”)


Gardening Tips for the Lakes Region of New Hampshire

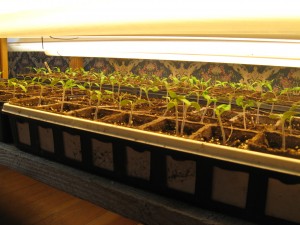
tomato seedlings

Gardening in the Lakes Region of New Hampshire is trickier than many parts of the country. Here’s some tips we employ at Mercy Hill Farm. These heirloom tomato seedlings started life “under the lights” about two weeks back. They will need to be coddled in a cold frame to protect them from frost until mid to late May.

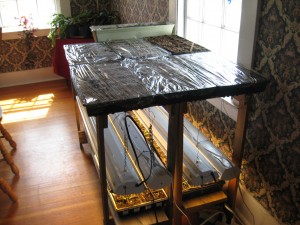
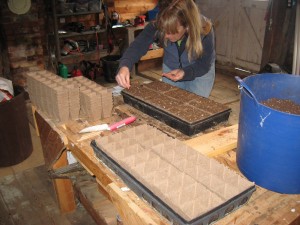
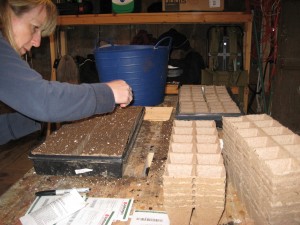
seedling starting table

Making use of the heat from the lights, we’re sprouting the next round of seedlings on top, right above the lights. We like to add to the soil some flowers and herbs that will grace the beds along with the vegetables we grow. This attracts many beneficial insects and birds, keeps the bad insects away from our food and makes the garden much more appealing to the eye. After all, we’re not just about growing eats.

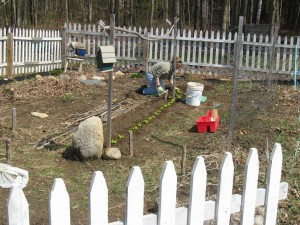
planting lettuce among the peas

Meanwhile, some frost tolerant things like butter head lettuce seedlings are ready to take their place in the rich soil of our companion planting beds. Unlike traditional gardening, companion planting mixes up varieties of plants in the same bed. There are many symbiotic benefits that companion plants get from growing with other varieties. Here we put the head lettuce right down the middle between two rows of peas. Then we’ll plant flowers and herbs here and there in the bed as well. By the time the peas get big enough to shade the lettuce, the lettuce will be ready to harvest.

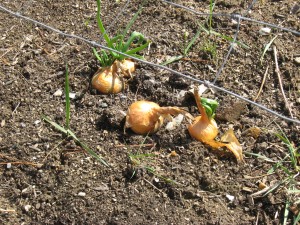
onions wintering over

The yellow onions we planted last summer awoke from their winter slumber and started reaching for the sun. A little weeding and a top dressing of compost and they will be a great addition to our summer harvest this year.

brocolli and kale growing in deep dug raised beds

Growing plants love our deep-dug, wide-row, raised beds. Because we don’t till them or walk on them the soil is fluffy and preserves the micro-life and nutrients below. The soil in our garden is so soft you can stick your hand down into it up to your wrist. Tap roots can go deep to grab more nutrients/water and weeds pull up real easy because the soil is hardly compacted at all.

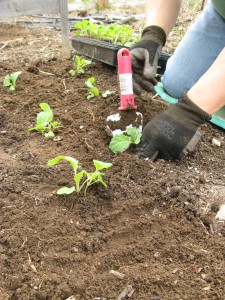
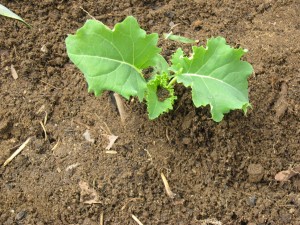
Brocolli seedlings

What a great way to spend part of our Easter Weekend; digging into the rich soil, tucking new seedlings into their beds! In a month or so, we will have a nice variety of garden fresh vegetables to eat and to share.

Got a gardening question, comment or another great tip? email Mercy Hill Farm. We’d love to hear from you!

Sure Signs of Spring at Mercy Hill Farm

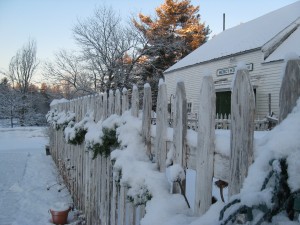
The month of March brings with it dustings of snow, like this one last Thursday, but they quickly melt away.

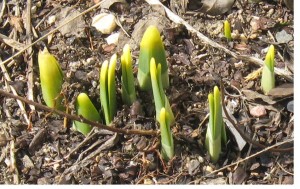
Meanwhile, the Daffodils are pushing up through the mulch,

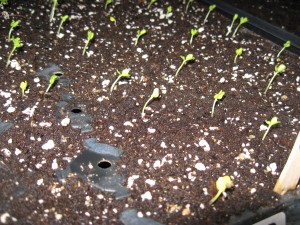
Brocolli, Kale, Collards, Lettuce and Onions are sprouting indoors.

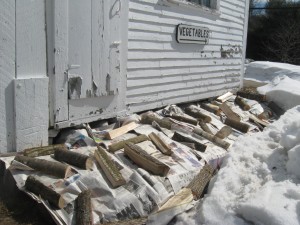
A thick layer of newspaper weighed down with fresh cut firewood will keep the growing beds free of weeds for another month until the soil temperature gets comfortable enough for our seedlings.

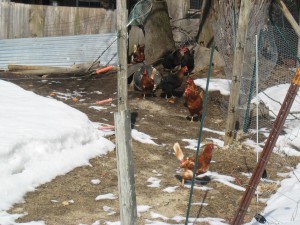
The girls even came out for a spring stroll, a scratch and some foraging.

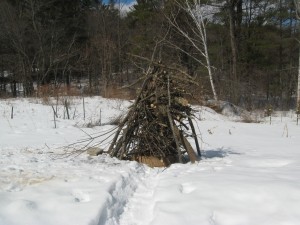
and then tonight after dark – BONFIRE baby! Woohoo!