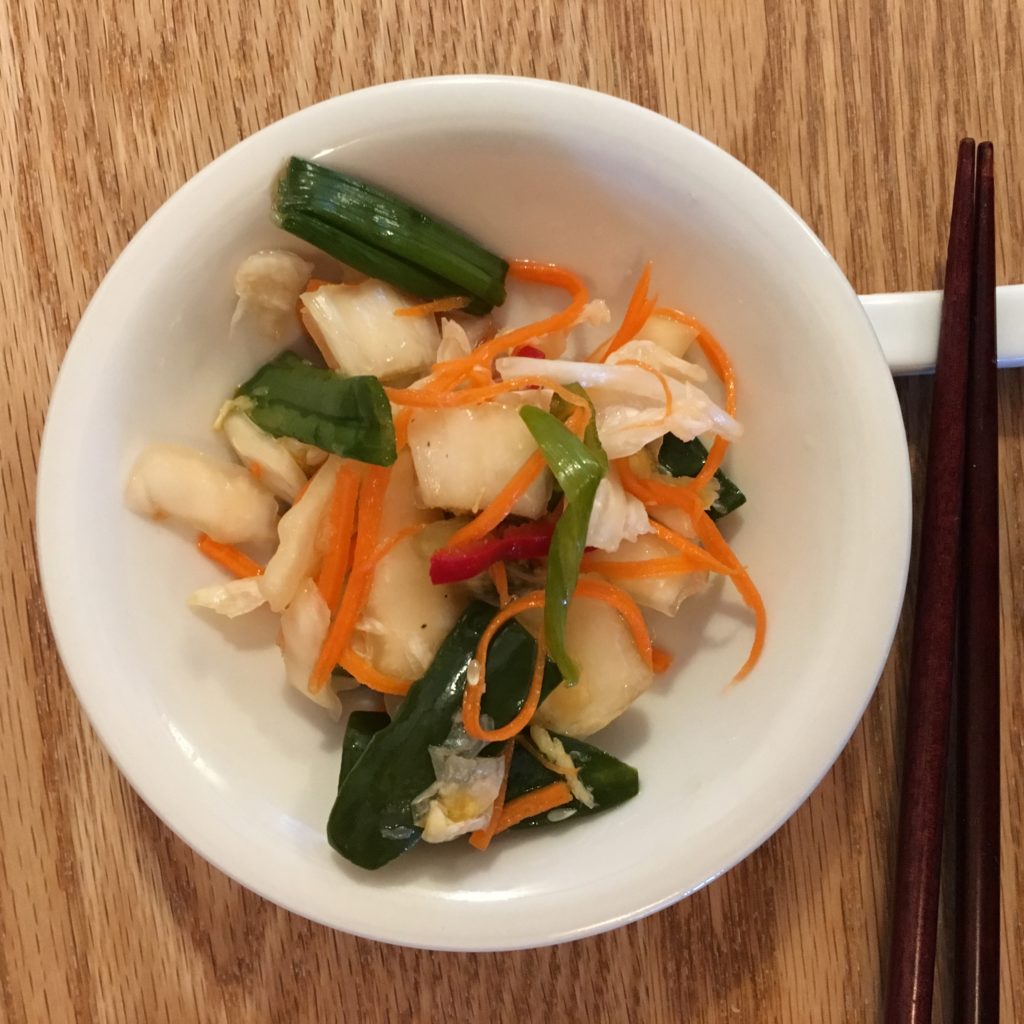
浅漬け
Asazuke is a Japanese word which means “shallow pickling.” My first memory of this dish was when I was a child, seeing this clay crock in the basement with a rock on top. Inside, Mom was making what she called her “cabbage pickle” which she has eaten at least once a day, for over eighty five years.

In Japan, a small dish of pickles and some rice are so commonly served with almost all meals, that a quick pickling method comes in quite handy. What Mom made by the crock, I usually make a few quarts at a time and it lasts me a week or two. It also makes a great healthy stand-alone snack mid-afternoon.
My recipe varies from the traditional recipe because I often eat it at my desk at work and so I keep it a bit milder in order to avoid offending my American colleagues with the aromas of daikon and dashi. Variations are noted below.
You will need:
A very large bowl for mixing, at least 12 quarts capacity
6 clean, sanitized quart size canning jars with lids
Glass jar followers (to hold the pickle beneath the brine)
A tamper or other 1-2″ round rod shaped tool
The Quantity:
This recipe has a lot of variables, depending on the size of the vegetables used. I usually get 4 quart jars, but sometimes more or less. Be prepared to make more brine, use more jars, or use the leftovers for something else.
The Vegetables:
100G キャベツ (1 large head napa cabbage) cut into 3″x1/2″ strips
6-8 scallions cut diagonally, 2 inch strips
2 medium carrots, cut into matchsticks
8 oz daikon radish cut into matchsticks ( I don’t use)
1 large cucumber (10 oz) cut into matchsticks
2-3 oz grated ginger root
6-8 oz red fresno peppers, cut into 1″ – 2″ matchsticks
1 tbspn crushed red pepper flakes
Put the vegetables together in a large bowl with room for tossing.
The Brine:
Juice of 2 Yuzu lemons (or 4 limes)
2 tbspns shoyu or soy sauce
2 tbspns mirin (sweetened rice wine)
4 tbspns sake
optionally, 1/2 cup dashi stock (but I don’t..)
Set the brine aside.
The Pickling:
Sprinkle the veggies with 1 tbspn coarse salt. Mix and massage the veggies vigorously until they are well mixed and begin to bruise and lose water, usually about 5 minutes.
Pack the veggies into the quart jars, cramming them tightly with the tamper until you cannot fit any more in the jar. Leave about 1/2 inch head space at the top of each jar. Depending on the size of your napa, you might need more than 4 jars.
Pour a few tablespoons of the brine into each jar, tamp it down some more to release bubbles.
Pour a little more brine into each jar, until the veggies are nearly covered. You may need to make more brine to make this happen. Tamp down some more until you see no bubbles rising through the veggies. This provides an anaerobic environment for this mild fermentation.
Place the followers on top of each jar and lightly screw on the caps. This should hold the veggies completely beneath the liquid. If not, add more brine until the followers hold the veggies under the brine. If you run out of followers, I have used small plastic ziploc bags with water to do the same thing. Important: Allow the tops to be lightly screwed on, in order for brine to escape if need be, otherwise, the jars could break.
Place the jars in the refrigerator, on a plate, or bowl to catch any happy brine that overflows and tries to make friends with your other food.
You can begin eating pickle this right away or wait for stronger flavor. I have stored it in the refrigerator for several months. The longer you keep it, the spicier and more fermented it will get. If you don’t eat it by 3 months though, I would toss it and start over.
Also: Sometimes I save the brine that gets left in the jar after I dish out the pickle, filter it through some cheesecloth and reuse it in my next batch. This considerably speeds up fermentation, so be careful.