by Mercy Hill Farm
Garlic is very easy to grow and stores well most of the year. It also provides a heavenly scent that actually deters many pests from being interested in your garden. Garlic is a biennial, meaning that it’s growth from planting to harvest spans two calendar years. Most of the work raising garlic is in the fall. Yield is high on garlic: one bulb gets split into cloves and each clove becomes a whole other bulb!
Schedule for Growing Garlic in New England:
Summer – Time to Get Things Ready
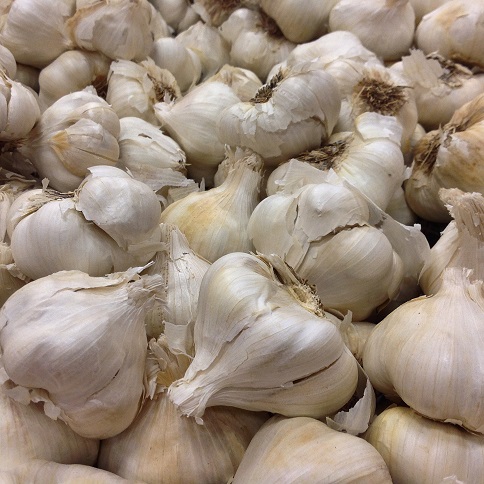
1. We recommend chosing a variety of garlic that suits your taste and lifestyle. We like German stiff-neck garlic because it has medium cloves, stores very well and has a strong taste.
2. Order seed garlic mid-summer in order to plant that fall. (It’s expensive to start, but you won’t need to buy it ever again.)
3. Chose a growing spot that has full sun for at least 8 hours a day. Garlic likes well drained soil with a PH of about 6.5.
4. We plant in 30″ wide rows, a foot in length for every eight plants. (details on planting pattern later)
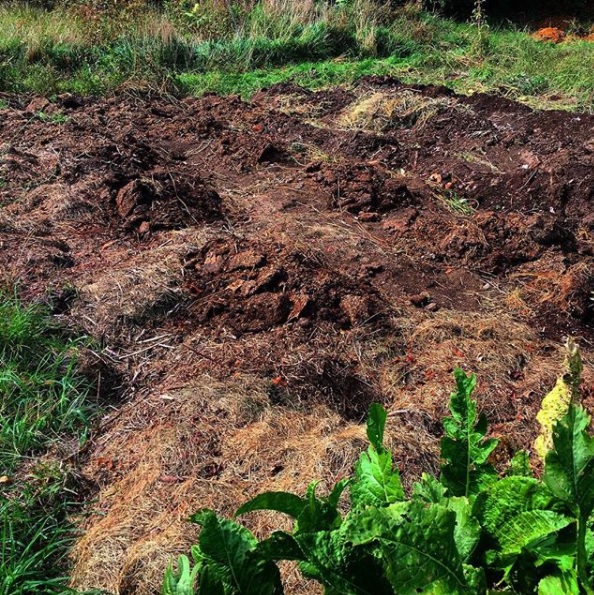
5. Work a few inches of well rotted manure or compost into the soil a month to a few weeks prior to planting.
6. Prepare some wooden posts 1’x2″ or so and 20″ long to drive into the four corners of each row. Get a roll of 12″ shrink wrap or kitchen cellophane, enough to circle all the rows 3 times. Also get enough straw or mulch hay to cover the rows. Plan on a bale for every 40 feet of row.
Fall – Time to Plant
1. Garlic should go in the ground about a month to two months prior to the first frost date in fall. Here in central NH, we plant at the end of October and that’s worked well in hardiness zone 4/5. Garlic will lay dormant most of winter, but doing it this way allows the plant to put down a good root system during the fall and spring months.
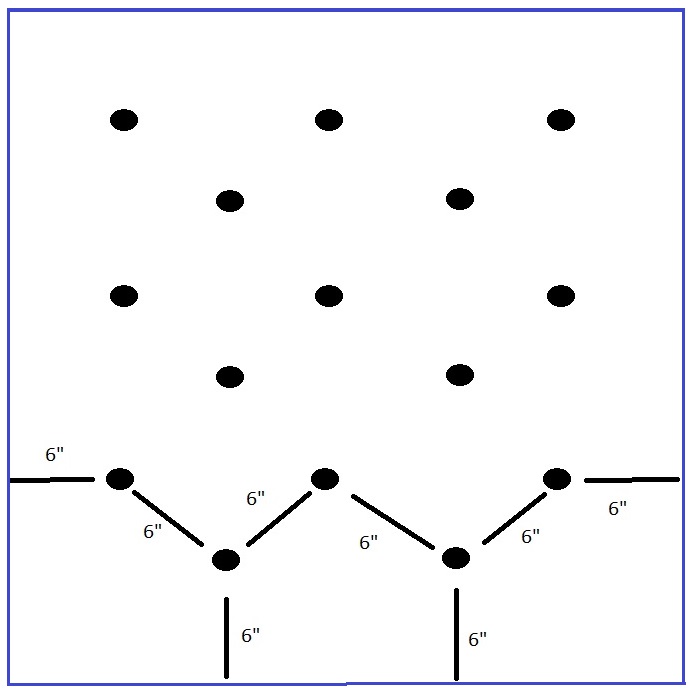
2. Start at one end of the row, measure in 6 inches from the edge and use a dibble or stick to poke holes 2″ deep using the pattern above. This allows 6 inches between plants, and maximizes the planting row space.
3. Break apart bulbs into cloves, placing one clove per hole, root side down. Don’t cover the cloves with soil until later.
4. Stop short six inches from the end of the row. Once you can see that your row is full, cover lightly with soil. Keeping six inches of composted row around every side will allow each plant to have sufficient nutrients and room for roots to spread.
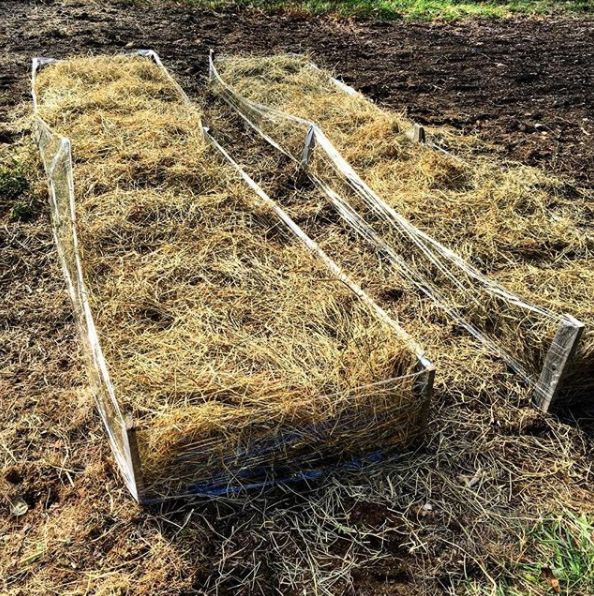
5. Drive posts at the corners of each row leaving 10-12″ above ground and 8″ from the planted cloves. This will allow the mulch to properly cover all the cloves.
6. Wrap the cellophane around the posts (If your rows are longer than 15 feet, you may need to add additional posts in the middle.)
7. Fluff the straw, spreading it evenly and gently over the rows, keeping it inside the cellophane, which will help maintain the soil temperature better and keep it from being disturbed by wind.
8. Start planning where you will cure your garlic next year.
Winter – Time to Kill
- Dream of garlic
- Gather garlic recipes
- Complain about store-bought garlic.
- Write Haiku about garlic.
Spring – Time to Uncover
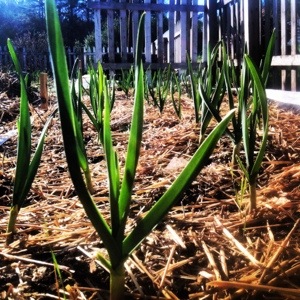
1. When other bulb plants like daffodils and crocuses start poking out of the ground, so will the garlic. Remove the straw and plastic.
2. Keep garlic weed free with shallow cultivation. Wide rows make weeding very easy as the soil not compacted and lets go of weeds easily.
3. Do not water garlic unless you go weeks without rain. It needs very little water.
Summer – Time to Harvest
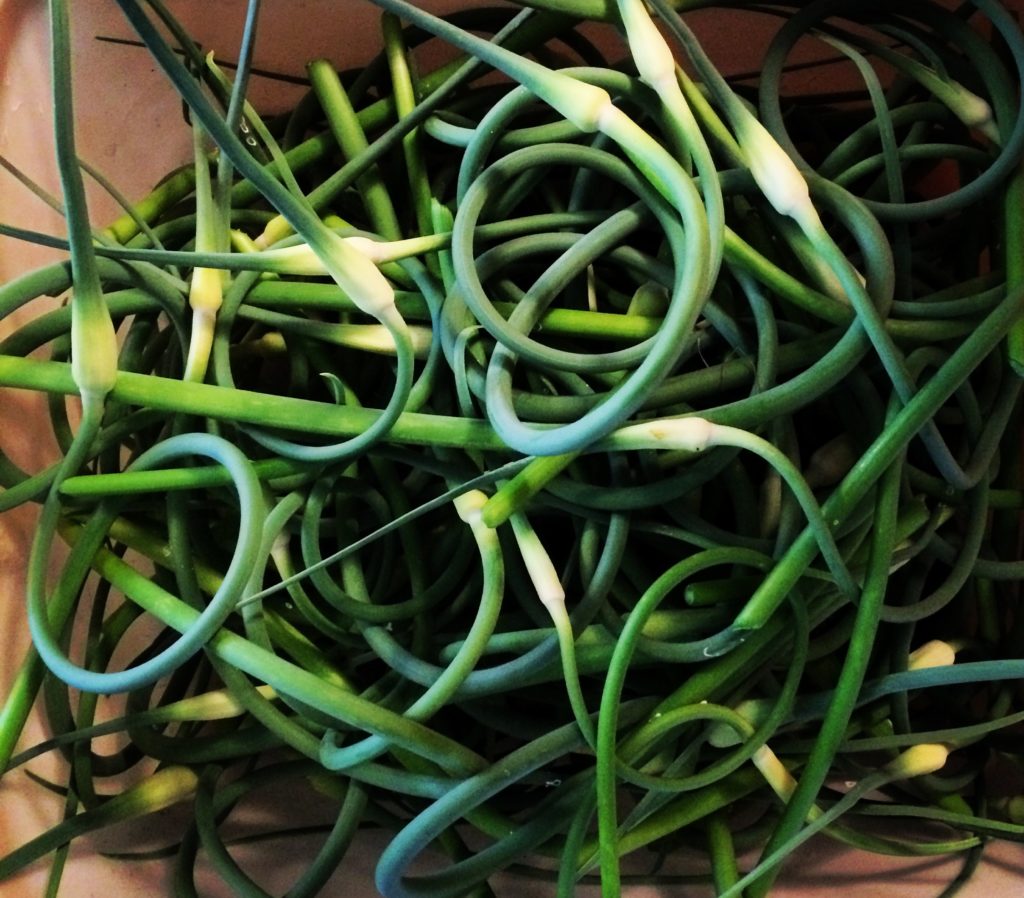
1. Along in June or July the garlic will put of shoots (scapes) that curl over and look like they are going to flower. Cutting the scapes off allows the plant to put more energy into larger bulbs. Cut the scape with tullens or snips right above the top leaves. Scapes are great for sautee or pesto. Not much good raw.
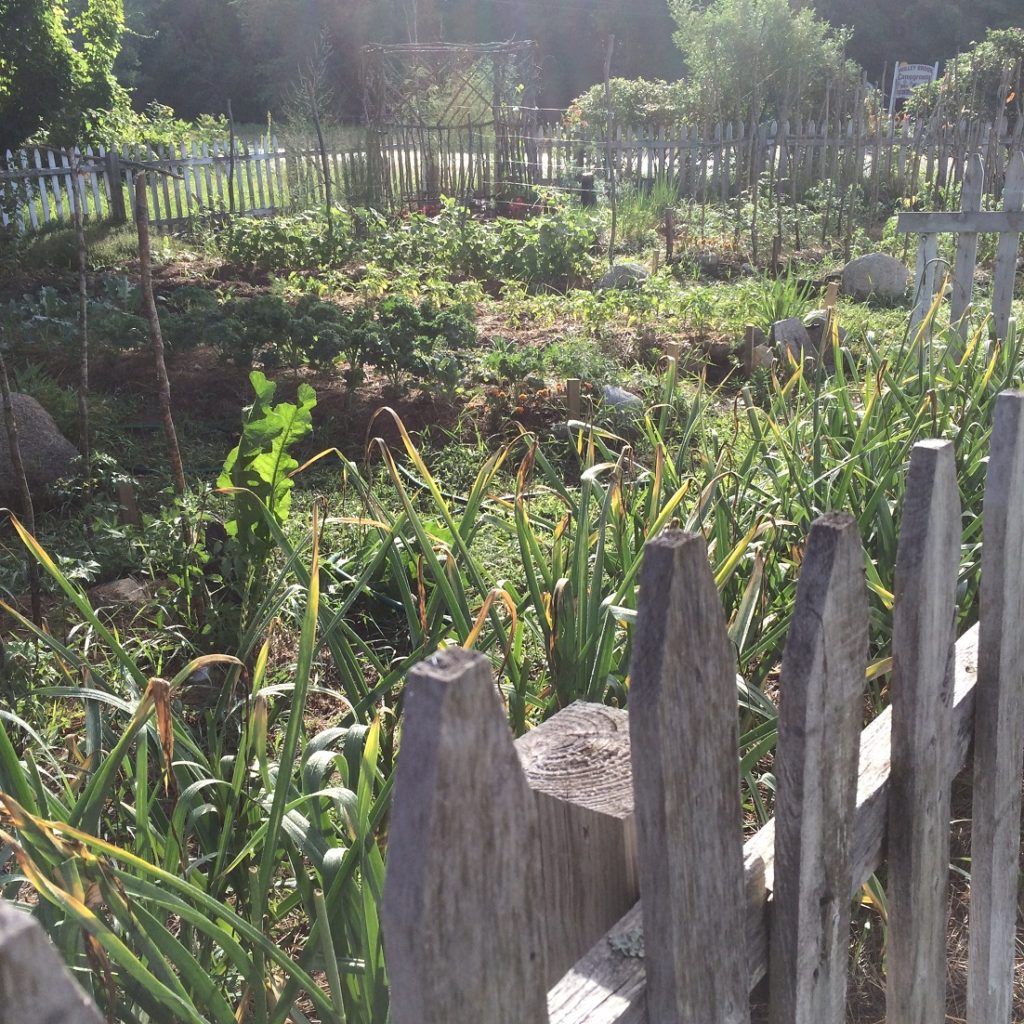
2. Monitor garlic plants closely. When three or so leaves begin to turn yellow on all the plants (usually around end of August here,) it’s time to harvest. Carefully lift the soil from 6 inches away from the plant with a pitchfork and shake the bulbs free, stalk and all. Gently brush excess dirt from the bulbs.
Summer – Time to Cure Garlic
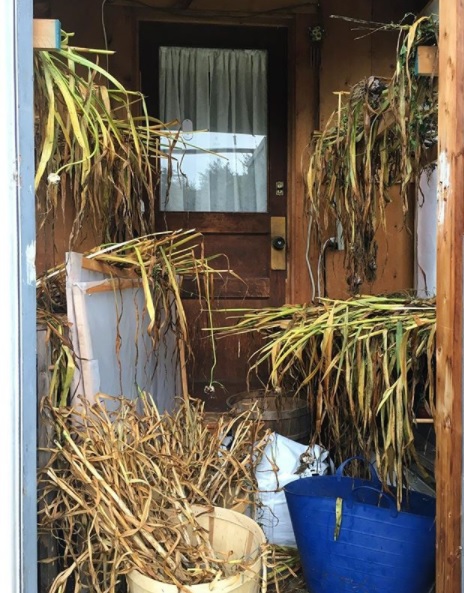
Garlic must be cured in order to store well. Place the plants in a dry sunny area for (about 2 weeks). If it rains, move the plants to a covered area. Inspect the bulbs carefully every few days because too much sun can scald the bulbs. When the skins are dry and the necks are tight the garlic is properly cured and it’s time to store it in a cool, dry place out of the sun.

If you have room, you can let the stalks remain, but we usually cut the stalk, trim the roots and lightly brush more of the dirt free. Then the bulbs go in our pantry in an open basket. Beware putting garlic in a sealed container. It does better if it can breath. Garlic cured well keeps for 5 months or more before sprouting. You can still eat sprouted garlic, but it’s generally not as good.
Late Summer – Time to Plan for Next Year
This sounds strange at first, but we set aside about 25-33% of the largest clove bulbs and eat mostly the smaller ones. These larger cloves will be your seed garlic for next fall. The reason is that grown year after year, garlic will adapt to your region and soil. If you eat the little ones and replant the big ones, you will have more fine, large cloves next time!